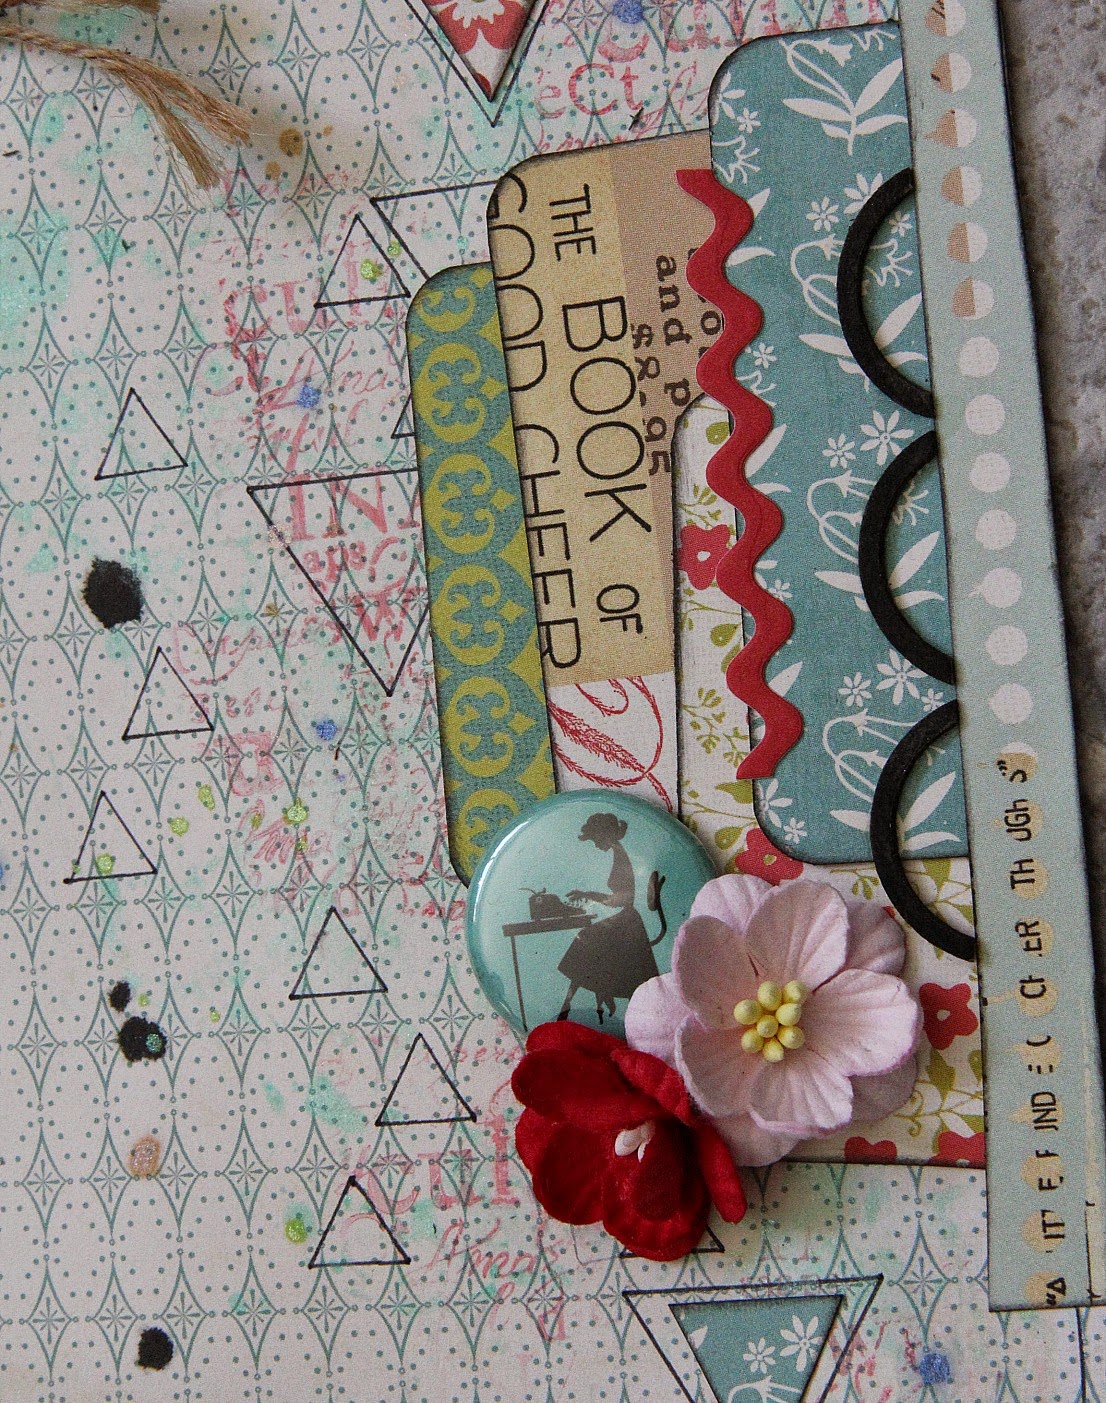
Hello everyone
Today I have a few layouts to share that were part of my Scrapbooking Memories Creative Team article that featured in Vol. 17 No. 1. This issue's theme was "Home Grown" and from this I came up with the idea to do my article on Chipboard. Australia is very lucky to have a few Home Grown chipboard company's....but for the layouts in my article, I've used 2Crafty chipboard :D .....as I always do on all of my layouts - love my 2Crafty! :))))
My article delved into a few of my favourite ways of altering chipboard.....including ways of adding texture, heat embossing, using crackle paint, embossing folders, different ways of adding colour and I also wrote about things like, not being afraid to cut your chipboard to fit and suit your project ...and also to experiment and have fun with other ways of altering this staple embellishment.
Here are the layouts I created using chipboard for the article
"Destination Unknown"
There's quite a few different chipboard pieces on this one, using a few basic techniques on altering/colouring them.....all 2Crafty, of course :D
The Summer Leaf Stem I have left raw....with just a smidgen of gesso & a light rub of ink added....which tones in with the rest of the colours on the layout
This gorgeous Tahnya's 11" Border scroll was first coated in gesso, then coloured with gelatos, and a touch more gesso & ink added to finish it off.
Again with the Chevron Bits....coloured with gelatos then a light rub with some brown ink.
If you don't happen to have Gelatos...any form of coloured medium would work just as well for colouring your pieces....paint, ink etc.
And the Butterflies too...with some rhinestones added to the bodies
And here is a veiw of the main area of the page.
So the techniques on this layout are fairly simply....just some added colour, ink & gesso, yet the result is quite a transformation.
"Always & Forever"
This page I've used some more 2Crafty pieces....a title & a circular frame that surrounds the whole layout. I've used some different techniques with these pieces as well.....
For the "Always & Forever" title I've first cut it in half & spread the title over 2 areas on the page, and I've then used some crackle paint to add colour & texture. For the best result with crackle pain, you need to pile it on there....literally, then leave it to dry & you will end up with a nicely crackled/distressed looking piece of CB (I find it best to let it dry naturally, rather than with a heat gun - the crackles just seem to form much better this way plus you tend to get more of them)
The rest of the title in crackle paint.
For the Flowery Swirly Frame piece, I've added some texture paste.....
I've just added it to the frame with a brush.....dabbing it on, making sure to get good coverage with lots of high & low points to make the texture as visual as possible.
Then I've finished it off by colouring it with my gelatos....again, painting it on with a brush.
Any form of coloured medium would work just as well though....one of my other favourite is to paint on some glimmermist :)
So that's was my article on chipboard.
I hope you have been inspired to use what I think is a staple embellishment to have in
any scrappers stash!
Thanks so much for dropping by today :)
You can view the 2Crafty blog over HERE for a HEAP of inspiration.
And if you're wanting to purchase some of this fantastic product, head on over to All About Scrapbooks HERE. Happy Shopping & Happy Scrapping :)
Until next time.... xxx


