Friday, January 16, 2015

Another layout using Prima Epiphany for All About Scrapbooks / January Scrap Around The World challenge

Hello everyone :)
 
Today I have another layout to share for All About Scrapbooks....again using the stunning "Epiphany" collection by Prima.
 
I know I've said over & over how beautiful & fun this collection is to play with, so I'll just get right to sharing the layout & let it speak for itself.
 
I have based my layout on the January mood board at Scrap Around The World
 
 
"Miss Molly"


Again, I've used one of the plainer papers for the background & added some colour with mists, stencils & modelling paste...plus some stamping in there as well.
I've gone for a bit of a vintage feel with thish one to compliment the old photo.
 
 
This is the gorgeous mood board over at Scrap Around The World
 
Isn't it so prettyyyyy!
 
I was inspired by quite a few things on the board....The clock's, Keys, frames & the flowers...as well as the soft greeny/blue colour that is in a few of the photos, PLUS the vintage feel to the board.
 
 
Here's a few close ups.....

I have clustered quite a few flowers....a mix of Prima, Green Tara & Petaloo, plus used a few of the Prima Epiphany wood icons - the clock face, keys & cute little bird cage.
 
The leafy piece at the bottom of the cluster is a 2Crafty Leafy Round, coloured with a coat of gesso & then painted with glimmermist.
 

Another wooden icon key & a frame....again from the Epiphany wood icon's set.
The metal butterfly is from the Ephemera pack, which is also full of lots of other fabulous goodies!
 

The vintage chipboard strip running in under the photo, is another 2Crafty piece - Vintage border, which has been coloured the same as the Leafy Round above.


HOpefully you can get an idea of the background work here....using Prima stencils with mist for the pink netting, and Rock Wall 3 for the modelling paste.
I've then used a Unity Stamp to randomly stamp over the top of the misting & modelling paste.


The pic is of my Great Aunt Molly (My Paternal Grandmother's sister)...who unfortunately died at quite a young age...in very sad circumstances :(
 
I don't have much journaling on the front of the page...I will be adding it to the back of the page to record a little about her life that I've discovered whilst doing some family history research.
 
For more details on products & techniques used, please pop on over to the AAS blog HERE
 
Thanks so much for dropping by today!  xx

Monday, January 12, 2015

Creative Team Article on "Creating Clusters" for Scrapbooking Memories Vol. 17 No. 5

Hi everyone :)
 
I am slowly getting there on sharing the pages that were part of my 2014 Creative Team articles for Scrapbooking Memories.  This is the 2nd last one, and it is on "Creating Clusters" for Vol. 17 No. 5.
 
I'm sure you all know that it is very rare for me to create a layout without a cluster....or two!
So that's what I decided to do this article on....how I go about creating them, and ideas on things you can include in them...which is pretty much anything & everything :)
 
A cluster can be as big or small as you like, depending on your scrapping style, your budget, and what will work in the space that you have on your page.  it can be anything from a small petite cluster to something that flows right across your page.
 
 
For my first layout I have demonstrated the use of 2 clusters....opposite each other at either end of the photo.  One being quite large, and the 2nd being much smaller.
 
"Remember"
 
When working with quite a few flowers in your cluster, try to choose a variety of sizes as this will give a more blanced look, rather than them all being the one size.
 

For the smaller cluster, I have used things like blooms, chipboard, buttons,
diecuts, stickers & cotton thread....and I also cut a few strips of PP into little banners & placed them so that they were fanned out at the bottom of the cluster.


Chipboard pieces are always my go to for adding into my clusters.  And this piece here has been cut in half so that you aren't wasting the bit that would otherwise be covered up by your photo or papers. 
 
 
Here's a few more close ups of around the page....


The larger cluster has similar items....just on a bigger scale & they wrap around the corner of the photo.
 

 Here's a close up of both clusters on the corners of the photo.
 
Your cluster doesn't have to be right at the photo...it can be anywhere on your page that you think suits best.  Although I must admit, that I do tend to put them near the photo more often than not.
 
 
Next I used an example of a much smaller cluster....with only one on the page.
 
"The G.O.R"

Although I have used similar products as the previous layout, this one looks quite
different and is more minimalist. 


For me, these are the staples for creating my clusters....flowers, chipboard, diecuts, buttons, threads & fibres.
 
 
And here's a few more close ups of other areas of the page....


Leaves....of any description, are also a favourite to add to my clusters.  Whether they be punched or diecut leaves using patterned papers...chipboard leaves, as I've used here, skeleton leaves, stamped leaves....or even manufacturers diecut leaves.  Just any type of leaf always looks fabulous in amongst a cluster, especially when it contains flowers....Leaves, I love them!
 
Well that is all I have for today...I have 1 more article to share, and that's me done & dusted :)
 
Thanks so much for visiting & for any comments you leave...I hope you were inspired
by my layouts & the basics of the article.
 
Until next time...xx


Sunday, January 11, 2015

More Prima - Epiphany for All About Scrapbooks

Hello again fellow scrappers
 
I am back to share another layout using the stunning "Epiphany" collection from Prima
 
 
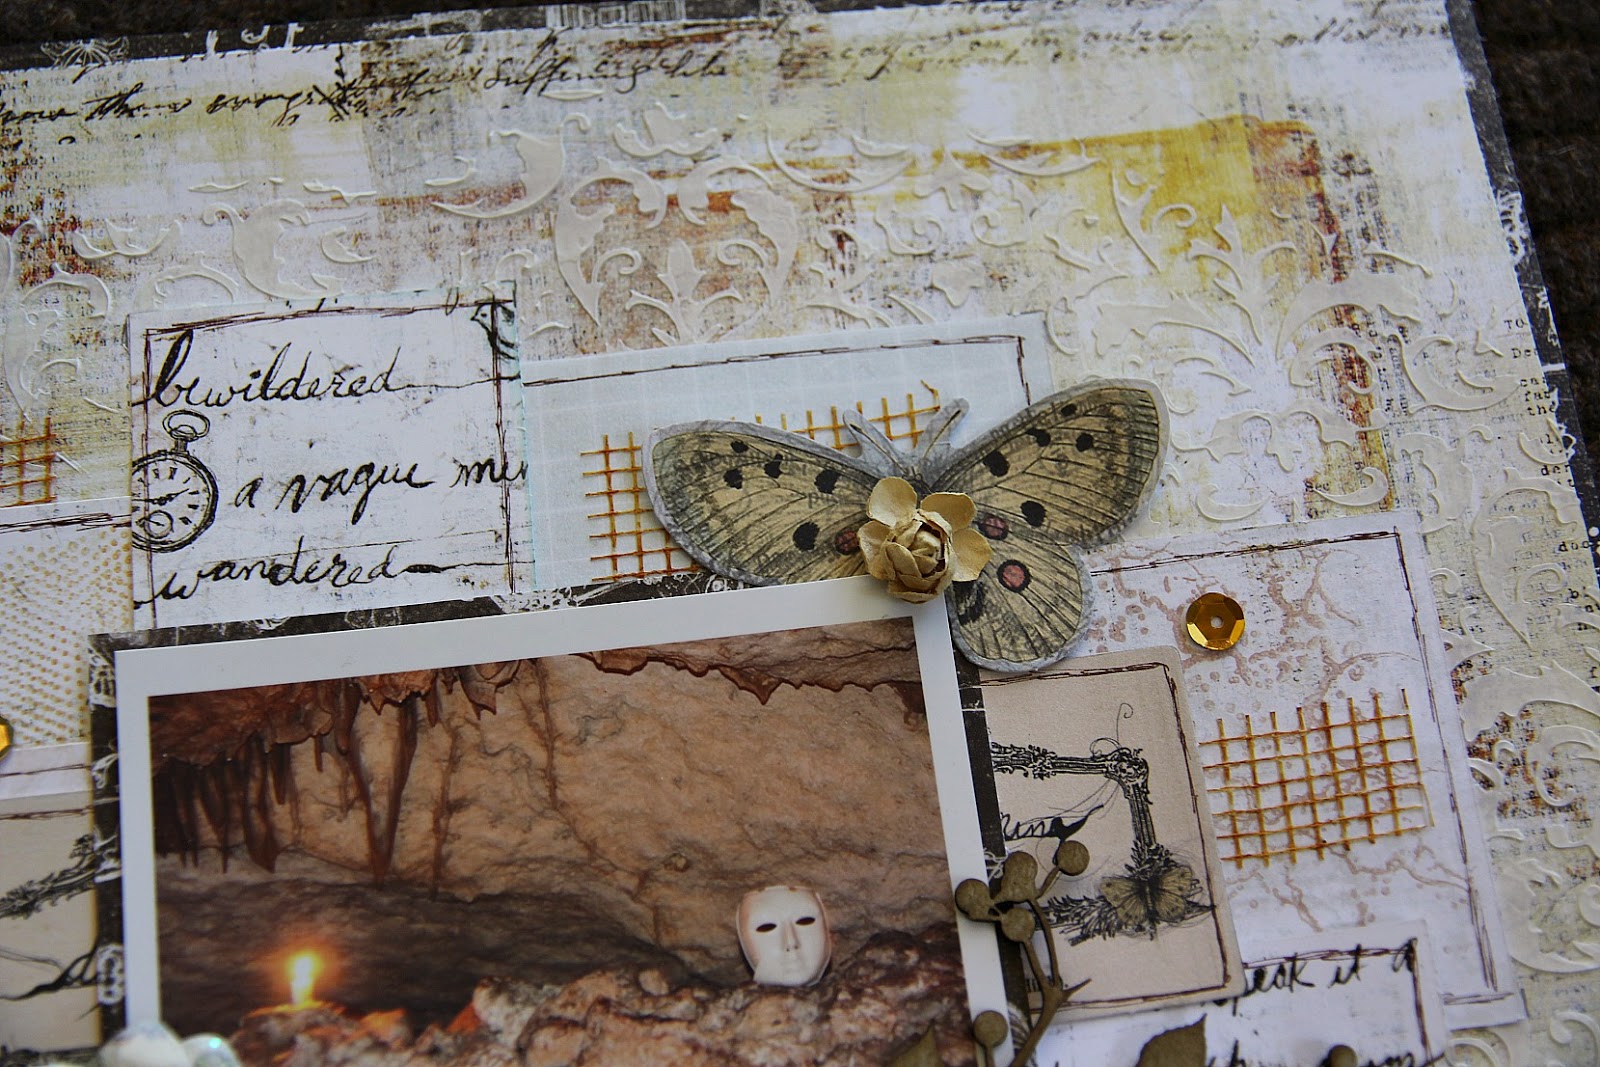
"The Secret Grotto"
 
For this layout I went for a background paper with gorgeous golden autumn tones....and the other papers layered in under the photo, I've added some stamping etc, so that they weren't so plain & also to add some more autumn tones to the page.
 
 
Here's a few close ups....


The photo is of the secret grotto on the island of Lifou - which was one of the places we visited on our cruise back in 2010.
 
 
As you can see, I don't scrap in chronological order...I guess you
could say I scrap a bit willie-nillie! lol ....I choose photos by what inspires me for a particular paper collection...hence the reason you'll see anything & everything from me ....in no particular order!
 
Anyways...for all the details on techniques & products used for this layout,
pop on over to the AAS blog HERE
 
Thanks so much for dropping by :)
Cheers...xx

A new KRAFT challenge blog on the scene.....

Hi everyone :)
 
I just wanted to quickly let you all know of a brand spanking new KRAFT challenge blog that has been started by Sandra Wallace. It is called Kraft Plus...or Kraft+ for short.
 
 
Kraft+


Kraft lovers you are going to be super inspired by the amazing challenges
& talent from the Kraft+ design team.


I was super lucky, honoured & humbled to be asked by Sandra to be part of the design team ....yay!!
So, this means that I have already seen quite a few of the first challenges....and I have to say, that they are amazing & awesome!!  PLUS I've seen the inspiring creations from the DT....and let me say, these ladies are amazing and so super talented....each one bringing a different style to the team.

Sooooo, you can check out the Kraft+ blog HERE
And there is also a Facebook group HERE

Make sure you follow on the blog & join the Facebook group - that way you won't miss a thing regarding this fabulous new challenge blog! :)


So, what are you waiting for?!?......


LinkWithin

Related Posts with Thumbnails